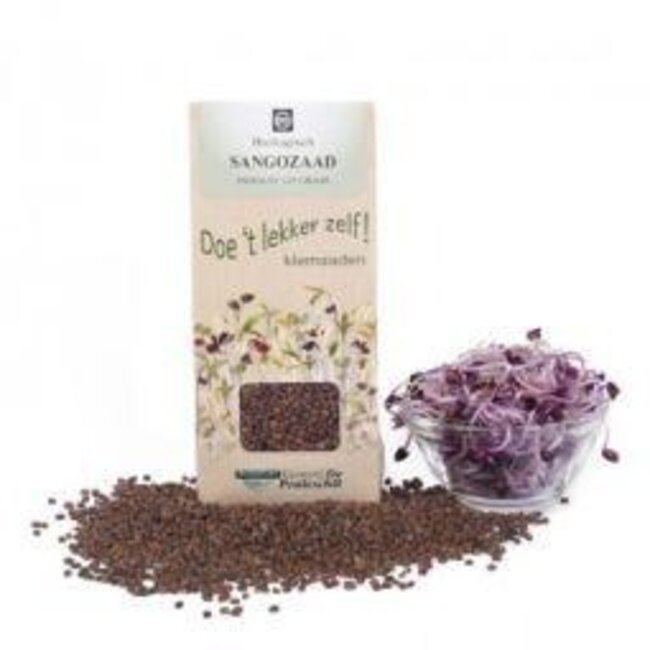
Once germinated, Sango seeds produce an incredibly beautiful purple sprout. Its flavour is comparable to that of radish sprouts, so it is deliciously spicy. This is not surprising as they belong to the same family. Because of its beautiful appearance, it Read more.

Maintaining an energetic feeling and a balanced lifestyle can be a challenge in the hustle and bustle of everyday life. When your meals could use some extra colour and vitality, growing your own sprouts offers a simple and natural solution. With the organic Sango seeds from De Peuleschil, you bring not only a deliciously spicy flavour to your kitchen, but also a visual spectacle. These seeds germinate into beautiful purple sprouts that instantly transform your daily dishes into a healthy and attractive treat.
Sango seeds belong to the same family as the radish, which explains the characteristic spicy flavour. During the germination process, the active nutrients in the seed awaken, creating a young, vital plant. This process ensures that the sprouts are easily digestible and can be quickly absorbed by the body. Adding these fresh sprouts to your daily diet is a simple way to support your vitality, with the convenience and reliability you have come to expect from VitAdvice.
| Feature | Specification |
| Product | Organic Sango seeds |
| Brand | Peuleschil |
| Content | 125 grams |
| Weight | 1.000 kg |
| Origin | EU/Non-EU |
| Certification | Organic |
Organic Sango seeds
1. Place one to two tablespoons of seeds in a preserving jar and add plenty of lukewarm/warm water. [Any glass jar is suitable, provided it is large enough (min. 1½ litres) and the neck is not (too) narrowed.]
2. Attach a piece of plastic or fibreglass fly screen to the jar using a sturdy (postman's) elastic band. Preferably do not use aluminium fly screen as this is sometimes treated against insects.
3. After the indicated soaking time¹, drain the water, rinse the seeds, and drain the water again.
4. Place the jar upside down at an angle at room temperature in a colander, rack, or container so that the excess water can drain away.
[It is important that all the water can drain away; the water that remains on the sprouts is sufficient to keep the germination process going. It is also important that the seeds/sprouts do not cover the entire mesh. For a good result, it is of great importance that there is sufficient air supply. Therefore, after each rinse, distribute the seeds/sprouts along the length of the jar.]
Do not place the jar with seeds/sprouts on the heater or in full sun!
5. Rinse the seeds/sprouts during the indicated cultivation period² ± 3 times a day, and then always place the jar upside down at an angle.
6. Let the sprouts dry in the jar (upside down at an angle) after the very last rinse* at room temperature for at least 18 hours before consuming them and/or putting them in the fridge.
* If desired, the last rinse can be replaced by a 'washing action' to remove the hulls from the sprouts:
-Fill a small basin or similar to the brim with lukewarm/warm water.
-Put the sprouts in this and 'wash' them loose.
-Skim off the hulls by 'waving' them over the edge of the basin.
-Scoop the sprouts out of the water by hand and put them back in the jar.
-Reattach the mesh, place the jar upside down at an angle, and let it dry at room temperature for at least 18 hours.
Store remaining sprouts chilled (max. 7°C) and sealed (not airtight).
¹ Soaking time: ± 6 hours
² Cultivation period: ± 4 days
Never place the jar with sprouts on the heater or in bright, direct sun to prevent bacterial growth. Hygiene is essential during the germination process; rinse the seeds and sprouts carefully according to the instructions. Always store the harvested sprouts after drying in the fridge (maximum 7°C) in a sealed, but not completely airtight container. This product is intended as a healthy addition to your meals and is not a substitute for a varied, balanced diet and a healthy lifestyle.