Peuleschil Organic cress seeds Read more.

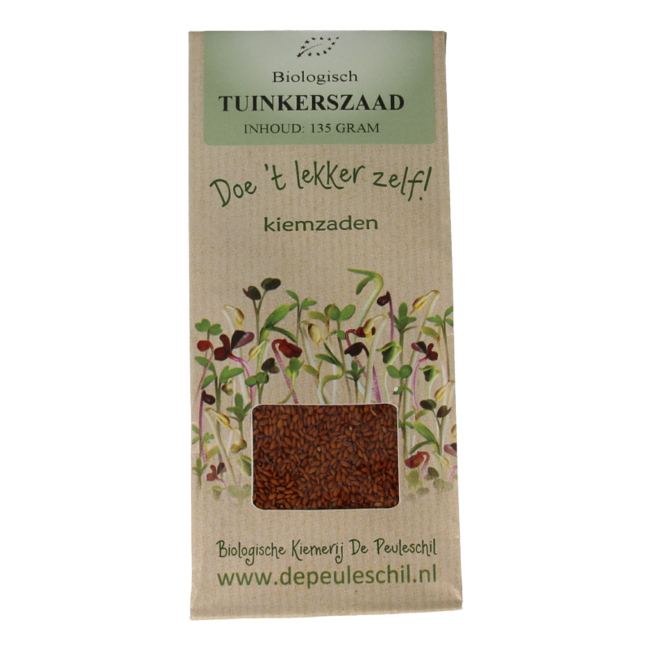
In a busy and active life, maintaining your daily vitality and a balanced diet can sometimes be a challenge. When you are looking for natural ways to enrich your meals with fresh nutrients, growing your own sprouts offers a simple and effective solution. With De Peuleschil Organic Cress Seeds, you bring a reliable source of living food into your home that supports your daily routine. By germinating these organic seeds at home, you can instantly add a fresh, spicy flavour and valuable nutrients to your dishes, contributing to a conscious and vital lifestyle for the whole family.
Sprouts such as cress are in the first growth phase of the plant, in which the concentration of essential nutrients is naturally very high. By exposing the seeds to moisture and light, the germination process is activated. This process converts the stored energy in the seed into readily absorbable nutrients and active enzymes. Growing these sprouts yourself guarantees maximum freshness and retention of these fragile substances, making it an excellent and natural addition to your daily diet.
| Property | Specification |
|---|---|
| Brand | Peuleschil |
| Product | Organic Cress Seeds |
| Content | 135 Gram |
| Origin | EU/non-EU |
| Certification | Organic |
Organic Cress Seeds
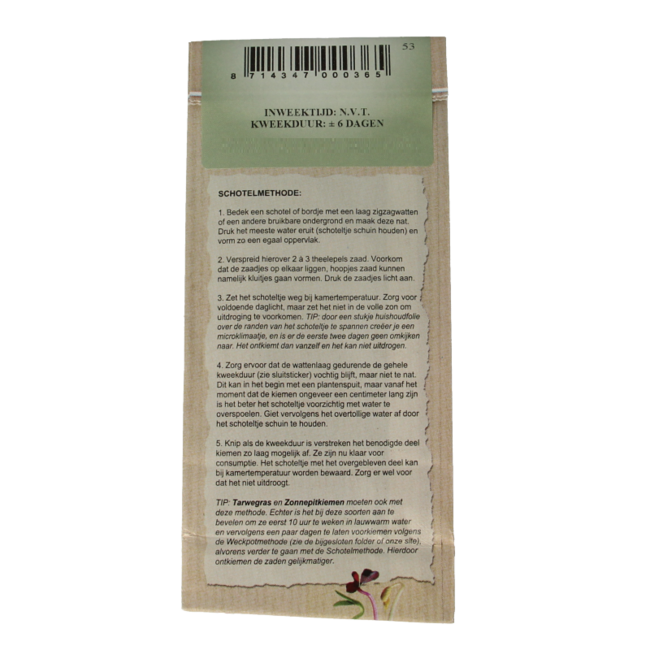
DISH METHOD:
1. Cover a dish or small plate with a layer of zigzag cotton wool or another suitable surface and moisten it. Squeeze out most of the water (tilt the dish) to form an even surface.
2. Spread 2 to 3 teaspoons of seeds over this. Prevent the seeds from lying on top of each other, as piles of seeds can form clumps. Press the seeds down lightly.
3. Place the dish at room temperature. Ensure sufficient daylight, but do not place it in direct sunlight to prevent drying out.
TIP: by stretching a piece of cling film over the edges of the dish, you create a microclimate, and there is no need to worry about it for the first two days. It will germinate automatically and cannot dry out.
4. Ensure that the cotton layer remains moist throughout the entire cultivation period (see closing sticker), but not too wet. This can be done with a plant sprayer at the beginning, but from the moment the sprouts are about a centimetre long, it is better to carefully flood the dish with water. Then pour off the excess water by tilting the dish.
5. Once the cultivation period has passed, cut the required portion of sprouts as low as possible. They are now ready for consumption. The dish with the remaining part can be stored at room temperature. Ensure that it does not dry out.
Cultivation period +/- 6 days.
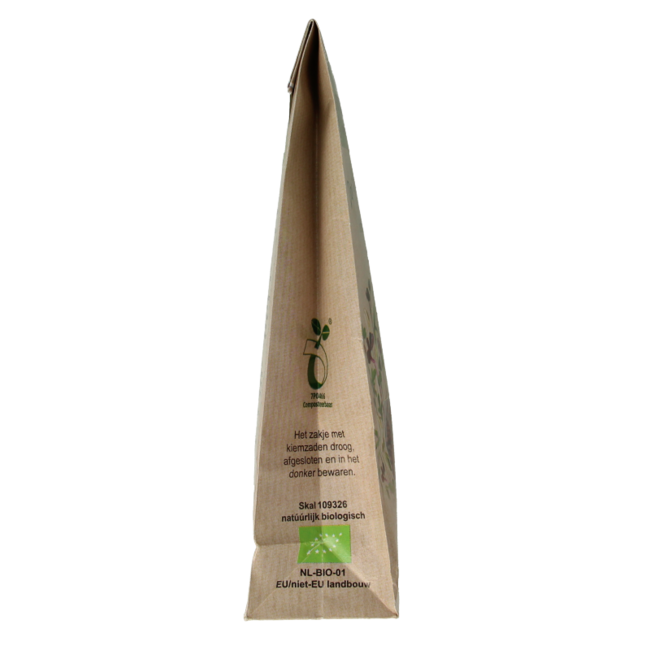
Store in a dry, sealed place and in the dark. Ensure a hygienic working method during the germination process to prevent unwanted mould formation. A varied, balanced diet and a healthy lifestyle are important. Sprouts are a supplement to the daily diet, not a replacement for it.